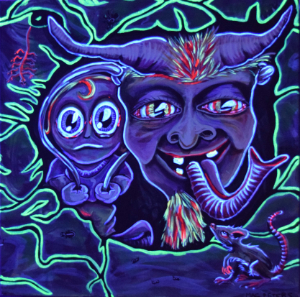
I started making blacklight art back in 2011 – and it took me a little while to figure out how to photograph it, so I thought I’d share what I’ve learned. Part of the problem was the camera I was using, which was a little outdated. The quality was lower, but also, the features I needed to control were harder to access. These days, there is a ton of easily accessible hardware that can make it easier.
How to Get those Sharp Photographs
- Use a wide aperture and a high ISO, if you have that option. Your exact settings will vary depending on the space you are in, and how much UV light is available. I like my camera set at around 1/30, f8, 6400 at home. If you are working from a phone camera, your settings might have an option that will give you a similar effect.
- Avoid Shaking: While this might be a fun effect to play with for light painting, when you're trying to take a photo under UV lights, any movement at all will show in the photo. If you have an SLR/DSLR camera, or if your camera has any weight to it, you'll benefit from using a tripod.
- Choose the right camera to use. I use a DSLR for photographing my art at home, but a big camera and tripod might not be ideal in all situations. For events where you might need to be more mobile, it might be preferable to use a smaller, lightweight camera. Some cameras work better in low light situations. Canon video cameras are a good example. Another is the Google Pixel
- Check out what other people do for more ideas: DIY Photography demonstrates one setup you can try. You might also want to see what's been done with UVIF (Ultraviolet-Induced Visible Fluorescence) for taking UV photos of nature - flowers and other plants.
